A shed is a valuable addition to any backyard. It offers storage and workspace.
But what about the flooring? Choosing the right flooring for your shed doesn’t need to be expensive. There are many affordable options that provide durability and functionality. From simple gravel to cost-effective interlocking tiles, you can create a solid foundation without breaking the bank.
The key is to find a solution that fits your budget and meets your needs. Whether you’re storing tools, creating a workshop, or just need extra space, the right flooring can make a big difference. This blog will explore several cheap shed flooring ideas to help you make the best choice for your shed. Let’s dive into some practical and budget-friendly options.
Table of Contents
Introduction To Shed Flooring
Choosing the right flooring for your shed is crucial. The right flooring not only enhances the shed’s functionality but also ensures its longevity. Many people overlook this aspect. They later face issues such as dampness, decay, or even structural damage.
Importance Of Durable Flooring
Durable flooring offers numerous benefits. It withstands heavy loads and frequent use. This is essential for storing tools, equipment, or other heavy items. A strong floor also prevents moisture from seeping in. This keeps your belongings safe and dry. Moreover, it reduces the need for frequent repairs. This saves time and money in the long run.
Cost-effective Options
There are several affordable flooring options available. One popular choice is plywood. Plywood is inexpensive and easy to install. Another option is concrete. Concrete floors are durable and low-maintenance. For those on a tighter budget, pallet wood can be a great alternative. Pallet wood is often free or very cheap. It can be sourced from local businesses or online marketplaces.
Other affordable options include gravel or crushed stone. These materials are simple to lay down and provide good drainage. Rubber tiles are also a cost-effective solution. They are easy to install and offer a cushioned surface. Each of these options has its benefits. Choose based on your specific needs and budget.
Credit: www.autonomous.ai
Plywood Flooring
Plywood flooring is a popular choice for shed floors. It is affordable and easy to install. Plywood is durable and provides a smooth surface. It is a great option for those looking for cost-effective solutions.
Benefits Of Plywood
Plywood flooring offers several advantages. Firstly, it is inexpensive compared to other materials. It suits tight budgets perfectly. Secondly, plywood is strong and durable. It can handle heavy loads without damage. Thirdly, it is easy to work with. You can cut and fit plywood easily. Lastly, plywood is versatile. You can paint or stain it to match your shed’s interior.
Installation Tips
Installing plywood flooring is a simple task. Follow these steps for a smooth process:
- Measure the Floor: Measure the shed floor area. Buy enough plywood sheets to cover the space.
- Prepare the Surface: Ensure the ground is even. Remove any debris or obstacles.
- Cut the Plywood: Cut the plywood sheets to fit the shed floor dimensions.
- Lay the Plywood: Place the plywood sheets on the floor. Ensure they fit snugly together.
- Secure the Plywood: Use screws or nails to secure the plywood to the shed frame. Space the fasteners evenly for stability.
- Seal the Plywood: Apply a sealant to protect the plywood from moisture.
These steps will help you install plywood flooring efficiently. Enjoy a sturdy and long-lasting shed floor with minimal effort.
Concrete Slabs
Concrete slabs offer a solid and durable flooring option for sheds. This type of flooring is ideal for those seeking long-lasting strength. Concrete slabs provide a stable base and require minimal maintenance. They can withstand heavy loads, making them perfect for storing equipment.
Advantages Of Concrete
Concrete flooring has many benefits. First, it is incredibly durable. It can handle heavy machinery without damage. Concrete also resists moisture. This makes it suitable for sheds in damp areas. Additionally, it is easy to clean. A simple sweep or hose down keeps it looking good.
Concrete flooring is also fire-resistant. This adds an extra layer of safety to your shed. Plus, it is affordable. You can get a quality floor without spending much. Concrete is also versatile. You can paint it or add a sealant for a polished look. These features make concrete a top choice for shed flooring.
Diy Concrete Flooring
Creating a concrete floor yourself is possible. Start by preparing the ground. Clear the area of debris and level the soil. Use a wooden frame to outline the floor. This keeps the concrete in place while it sets.
Next, mix the concrete. Follow the instructions on the bag. Pour the concrete into the frame. Use a trowel to spread it evenly. Smooth the surface with a float. Allow the concrete to cure. This process can take several days. Make sure to keep the surface moist during this time.
Once cured, you can add a sealant. This protects the concrete and gives it a finished look. DIY concrete flooring is a straightforward project. With some effort, you can achieve professional results.
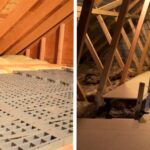
Gravel And Crushed Stone
Gravel and crushed stone are popular choices for shed flooring. They offer a sturdy and cost-effective base. This type of flooring is easy to install and maintain. Below, we explore why gravel is a great option and how to lay it for your shed.
Why Choose Gravel
Gravel is a durable and affordable option for shed floors. It drains well, preventing water from pooling under your shed. This helps keep your shed dry and reduces the risk of rot. Gravel also provides a stable base that can support heavy items.
Another benefit of gravel is its ease of installation. You do not need special tools or skills. It is also an eco-friendly choice. Gravel is a natural material and does not require chemicals or treatments.
Laying Gravel Floors
Follow these steps to lay a gravel floor in your shed:
- Clear the area of any vegetation and debris.
- Level the ground to create an even surface.
- Place a layer of landscape fabric. This will prevent weeds from growing through the gravel.
- Add a layer of crushed stone. A thickness of 4-6 inches is ideal.
- Spread the gravel evenly using a rake.
- Compact the gravel using a tamper or roller.
Here is a simple table to summarize the steps:
| Step | Action |
|---|---|
| 1 | Clear area |
| 2 | Level ground |
| 3 | Place landscape fabric |
| 4 | Add crushed stone |
| 5 | Spread gravel |
| 6 | Compact gravel |
Remember, using crushed stone ensures a solid and stable base. This will make your shed last longer. Choose gravel for a practical and budget-friendly shed flooring solution.
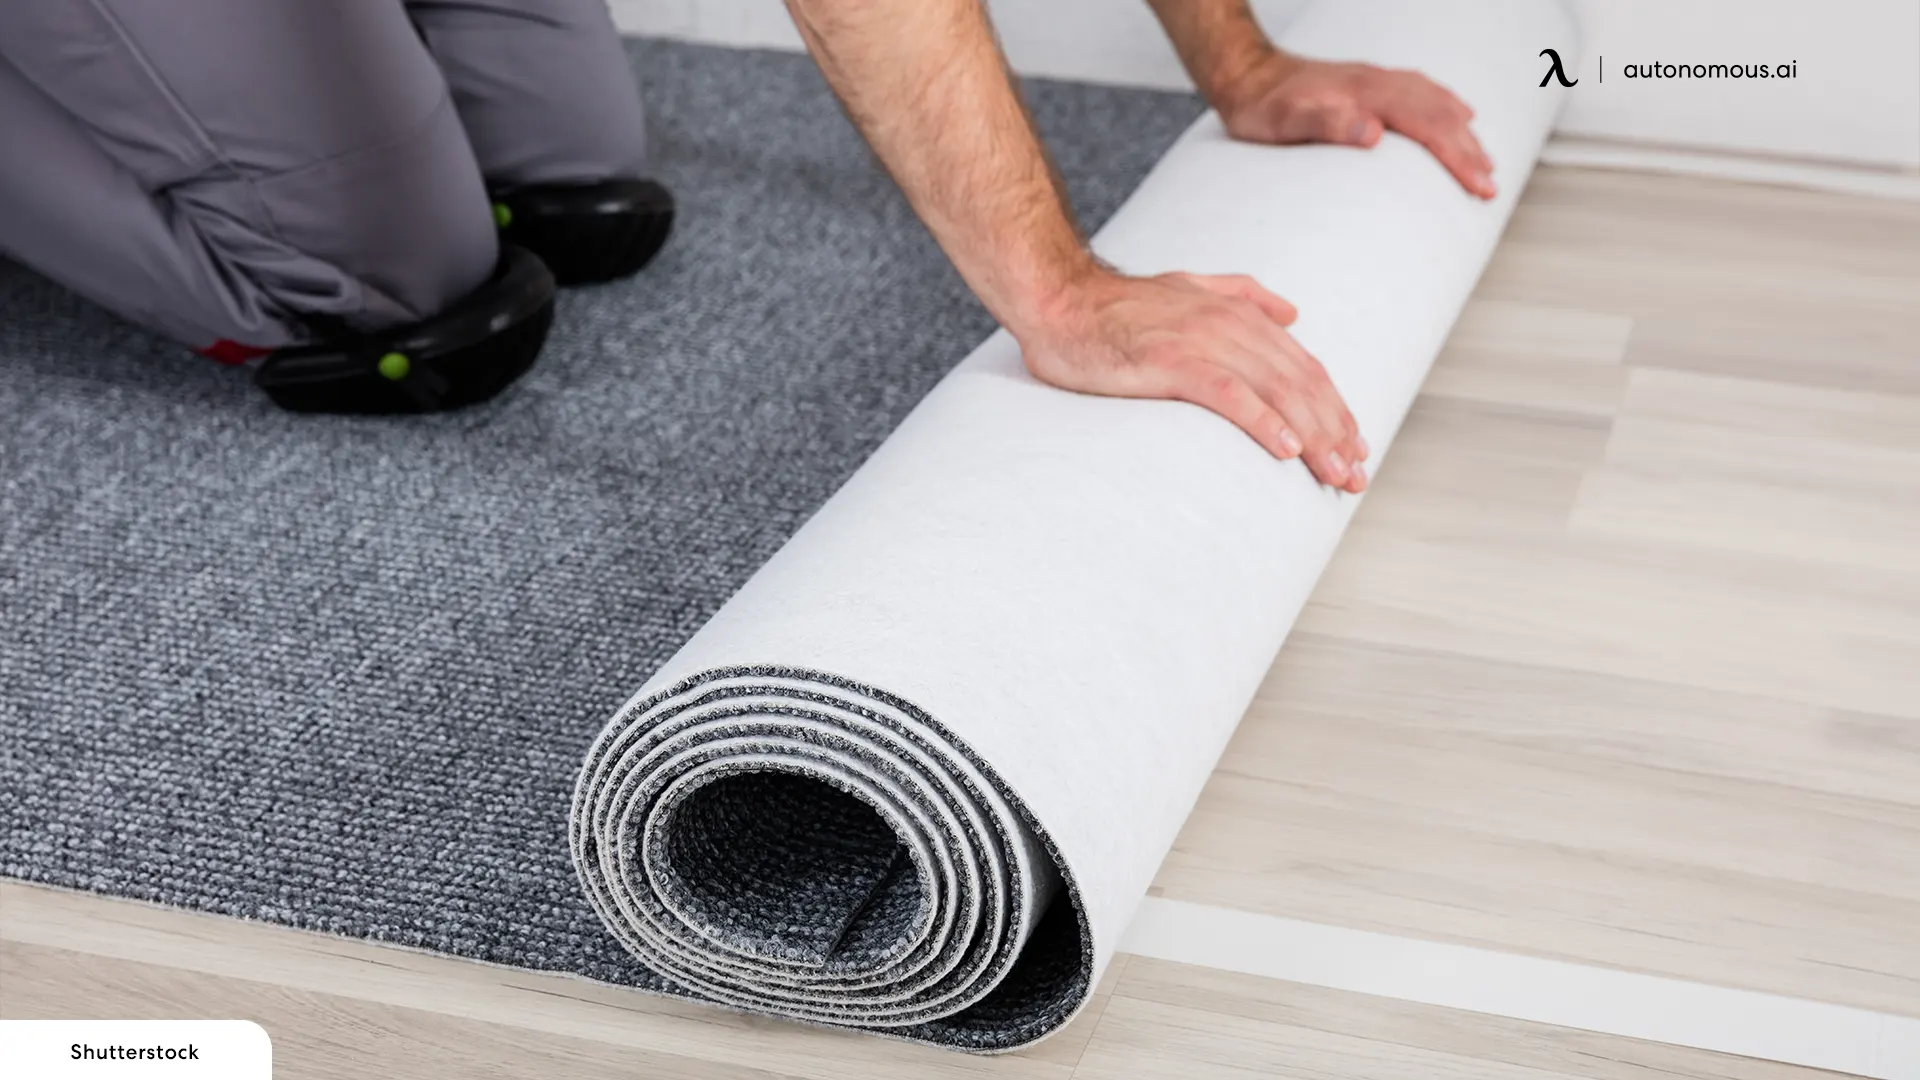
Rubber Mats
Rubber mats offer a practical and affordable shed flooring solution. They are durable, easy to install, and provide excellent protection for your shed floor. This type of flooring can withstand heavy use and resist moisture, making it an ideal choice for many shed owners.
Pros Of Rubber Mats
Rubber mats are very durable. They can handle heavy equipment without damage. They are also resistant to water and moisture. This helps prevent mold and mildew. Rubber mats are also easy to clean. Just sweep or hose them off. They are soft underfoot, providing comfort when standing for long periods.
Best Uses For Rubber Mats
Rubber mats work well in sheds used as workshops. They can withstand the weight of heavy tools and machinery. They are also great for gardening sheds. They provide a cushioned surface for potting plants. Rubber mats are also ideal for storage sheds. They help protect stored items from moisture and dirt.
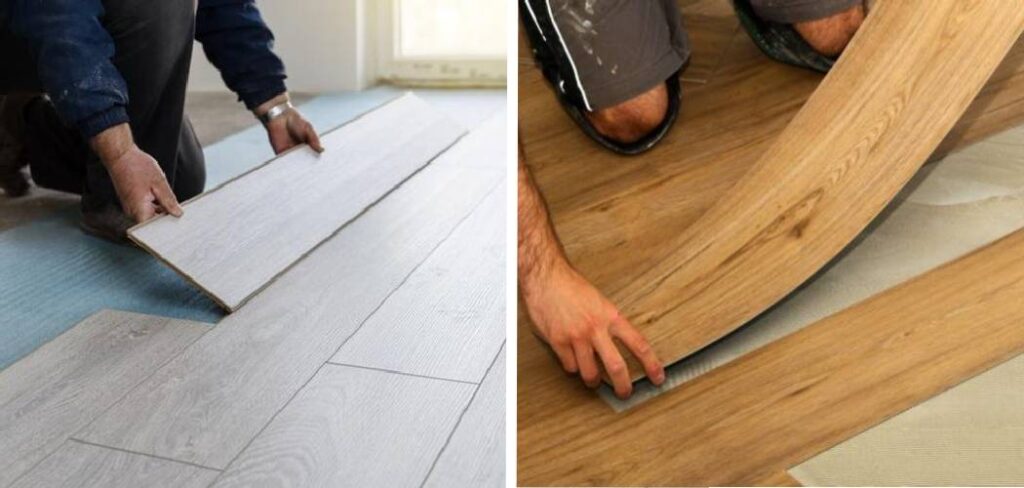
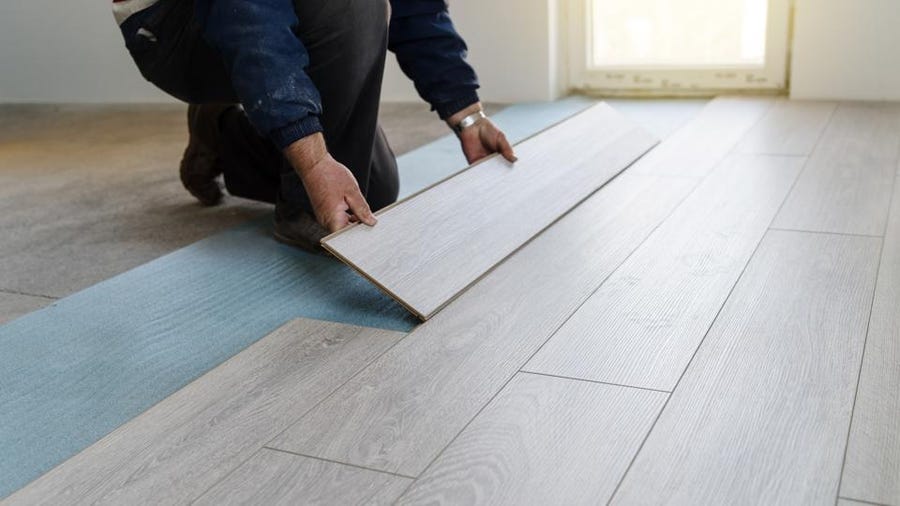
Vinyl Flooring
Vinyl flooring is a popular choice for shed flooring. It’s affordable, durable, and easy to install. Plus, vinyl comes in various colors and patterns, making it versatile. Let’s explore the benefits of vinyl flooring for your shed.
Affordability Of Vinyl
Vinyl flooring is one of the most cost-effective flooring options. It’s cheaper than wood, tile, or stone. Despite its low price, vinyl offers excellent durability. This makes it a great option for budget-conscious homeowners.
| Flooring Type | Average Cost (per sq. ft.) |
|---|---|
| Vinyl | $1 – $3 |
| Wood | $5 – $10 |
| Tile | $3 – $8 |
| Stone | $7 – $20 |
Installation Process
Installing vinyl flooring is a simple task. First, you need a clean and level surface. Sweep and clean the shed floor. Make sure it’s dry before starting.
Next, measure the area to determine how much vinyl you need. Cut the vinyl sheets to fit your shed’s dimensions. Use a utility knife for precise cuts.
Lay the vinyl sheets on the floor. Use adhesive to secure them in place. Press down firmly to remove any air bubbles. Smooth out the surface for a clean finish.
For added protection, consider using a vinyl underlayment. This can enhance the durability of your shed flooring. It also adds a layer of comfort underfoot.
With these steps, you can easily install vinyl flooring in your shed. It’s a quick and affordable way to upgrade your space.
Pallet Flooring
Creating a durable shed floor doesn’t need to break the bank. Using pallet flooring is a cost-effective solution. Pallets are easy to find and repurpose. Their sturdy wooden structure makes them perfect for shed floors. Let’s explore the benefits and steps to create pallet floors.
Recycled Pallet Benefits
Recycled pallets offer many advantages:
- Cost-Effective: They are often free or very cheap.
- Eco-Friendly: Reusing pallets reduces waste and helps the environment.
- Durable: Pallets are made from strong wood, ideal for flooring.
- Easy to Work With: They are simple to cut and fit into your shed space.
Creating Pallet Floors
Follow these steps to create your pallet floor:
- Gather Materials: Collect enough pallets to cover your shed floor.
- Prepare the Ground: Ensure the ground is level and free of debris.
- Measure and Cut: Measure your shed floor and cut pallets to fit.
- Lay Out the Pallets: Arrange the pallets on the ground, ensuring a tight fit.
- Secure the Pallets: Use nails or screws to secure the pallets together.
Using pallets for your shed floor is an excellent way to save money and help the environment. With a bit of effort, you can create a strong and long-lasting floor.

Credit: www.goldstarbuildings.com
Comparing Flooring Options
Choosing the right flooring for your shed can be challenging. You need to consider durability, cost, and ease of installation. In this section, we will compare different shed flooring options to help you make an informed decision.
Durability Comparison
Durability is a key factor when selecting shed flooring. Let’s compare some popular options:
| Flooring Type | Durability | Maintenance |
|---|---|---|
| Concrete | High | Low |
| Plywood | Medium | Medium |
| Gravel | Low | High |
Concrete is the most durable option. It requires little maintenance. Plywood offers medium durability but needs some care. Gravel is the least durable and needs frequent upkeep.
Cost Analysis
Let’s break down the costs associated with each flooring option.
- Concrete: Initial cost is high. Long-term, it saves money due to low maintenance.
- Plywood: Moderate initial cost. Requires periodic treatments to prevent decay.
- Gravel: Lowest initial cost. High ongoing maintenance costs.
Concrete involves a high upfront investment. Plywood is more budget-friendly initially but needs regular treatments. Gravel is cheap to install but costly to maintain over time.
Maintenance Tips
Maintaining your shed flooring is essential for its longevity and appearance. Regular care ensures that your flooring remains in top shape for years. Here are some practical tips to help you keep your shed floor clean and durable.
Extending Floor Life
To extend the life of your shed floor, follow these steps:
- Seal the floor: Use a high-quality sealant to protect against moisture.
- Use a mat: Place a rubber or vinyl mat at the entrance.
- Elevate items: Store heavy items on pallets to reduce direct pressure.
- Inspect regularly: Check for cracks or damage every few months.
Easy Cleaning Methods
Cleaning your shed floor doesn’t have to be a chore. Here are some simple methods:
- Sweep regularly: Use a broom to remove dirt and debris.
- Mop with mild detergent: Mix water and mild soap for mopping.
- Vacuum: Use a shop vacuum for a deeper clean.
- Spot clean: Address spills immediately to prevent stains.
| Cleaning Task | Frequency |
|---|---|
| Sweeping | Weekly |
| Mopping | Monthly |
| Vacuuming | Bi-weekly |
| Spot Cleaning | As needed |
Following these maintenance tips will keep your shed floor in great condition. Regular care can make a significant difference in its lifespan.
Credit: shedsunlimited.net
Frequently Asked Questions
What Is The Cheapest Shed Flooring Option?
The cheapest shed flooring option is gravel. It’s cost-effective, easy to install, and provides good drainage.
Can I Use Pallet Wood For Shed Flooring?
Yes, pallet wood is a budget-friendly option. It’s durable, recyclable, and adds a rustic look to your shed.
How Do I Insulate A Shed Floor Cheaply?
Use foam board insulation. It’s affordable, easy to cut, and install. It helps maintain temperature.
Is Plywood A Good Shed Flooring Material?
Yes, plywood is a good option. It’s affordable, easy to work with, and provides a stable floor.
Conclusion
Finding the right shed flooring doesn’t have to be expensive. Affordable options like gravel, pallets, or plywood can be effective. Each material has its own benefits and suits different needs. Choose the one that best fits your shed and budget.
With these ideas, you can create a sturdy and practical floor. Save money while ensuring your shed remains functional and durable. Start your project today and enjoy a reliable shed floor for years to come.