
Are you interested in creating your own jewelry? DIY jewelry making is fun and rewarding.
This blog will introduce you to simple, beginner-friendly ideas for crafting your own pieces. Jewelry making can seem daunting at first, but it doesn’t have to be. With the right guidance, you can create beautiful, personalized accessories. Whether you’re looking to make a gift or just want a new hobby, this guide is perfect for beginners.
We’ll explore easy projects that use basic materials and tools. These ideas will help you gain confidence and improve your skills. Dive into the world of DIY jewelry and discover the joy of creating unique pieces by hand.
Introduction To Diy Jewelry
DIY jewelry making is a fantastic hobby for beginners. It allows you to create unique and personalized pieces. The process is simple and fun. Plus, you get to wear your own creations. You can make bracelets, necklaces, earrings, and more. All you need are some basic tools and materials. Read on to learn how to start your DIY jewelry journey.
Benefits Of Making Your Own Jewelry
Creating your own jewelry has many advantages. Here are some key benefits:
- Personalization: You can design pieces that reflect your style.
- Cost-effective: Making jewelry can be cheaper than buying it.
- Creativity: It’s a great way to express your creativity.
- Gifts: Handmade jewelry makes thoughtful gifts.
- Relaxation: The process can be very relaxing and therapeutic.
Essential Tools And Materials
To start making your own jewelry, you need some essential tools and materials. Here is a list of what you will need:
| Tools | Materials |
|---|---|
| Wire cutters | Beads |
| Round-nose pliers | Jewelry wire |
| Flat-nose pliers | Jump rings |
| Crimping tool | Clasps |
| Tweezers | Charms |
These tools and materials are easy to find. You can get them at craft stores or online. Start with a basic set and add more as you get better.

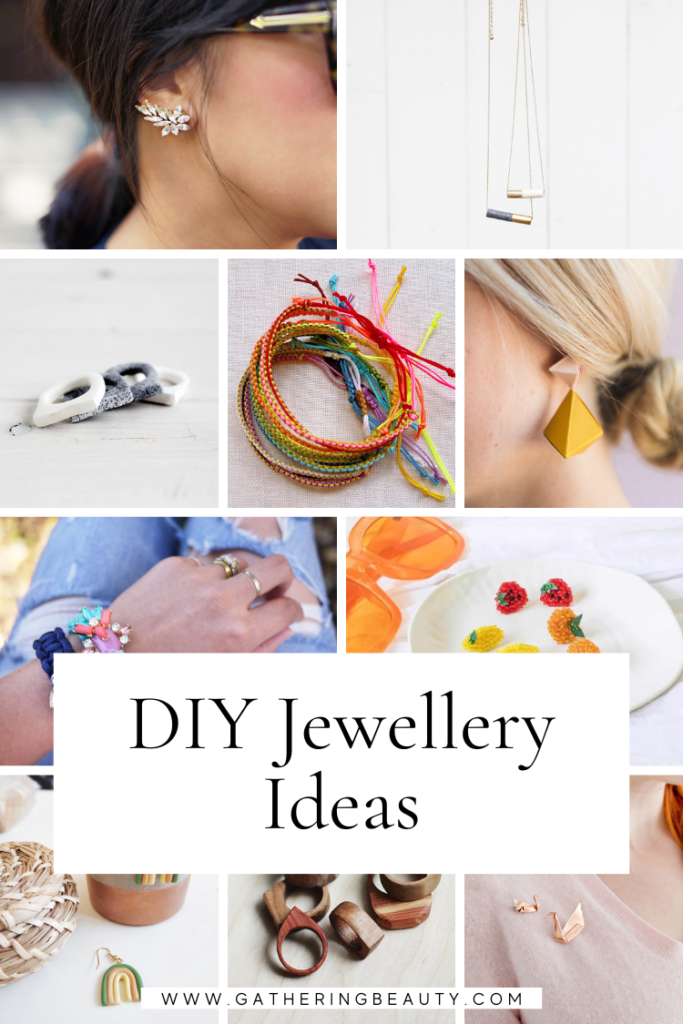
Credit: www.gatheringbeauty.com
Basic Techniques
Starting with DIY jewelry can be fun and rewarding. Learning the basic techniques helps you create beautiful pieces quickly. Two essential skills are stringing beads and using jump rings.
Stringing Beads
Stringing beads is the foundation of many jewelry projects. First, choose your beads and stringing material. Use a beading needle for small beads. Slide your beads onto the string in your desired pattern. Make sure to secure the ends with a knot or clasp. This simple technique forms the base for necklaces, bracelets, and anklets.
Using Jump Rings
Jump rings connect different parts of your jewelry. They are small metal loops. To open a jump ring, use two pairs of pliers. Hold the ring with one pair and twist the other pair sideways. Do not pull apart. Slide the component onto the ring. Twist the pliers back to close the ring. This technique is crucial for attaching clasps, pendants, and charms.
Simple Beaded Bracelets
Creating simple beaded bracelets is a fun and rewarding DIY project. It’s perfect for beginners who want to try their hand at jewelry making. These bracelets can be personalized with different beads, making each piece unique. Let’s dive into the process of making simple beaded bracelets, starting with the basics.
Choosing Beads
Selecting the right beads is crucial for your bracelet. Start with easy-to-thread beads. Glass, plastic, or wooden beads work well. Choose beads that match your style. Consider the size and color. Smaller beads create a delicate look. Larger beads make a bold statement. Mixing different sizes adds an interesting texture.
Step-by-step Guide
First, gather your supplies. You need beads, stretchy string, scissors, and a bead stopper. Cut a piece of stretchy string. Make it longer than your wrist size. This gives room for tying knots.
Next, attach a bead stopper to one end of the string. This prevents beads from slipping off. Now, start threading the beads onto the string. Be creative with your pattern. Alternate colors or sizes. Check the length by wrapping it around your wrist.
Once you reach the desired length, remove the bead stopper. Tie a secure knot to close the bracelet. Double-knot for extra security. Trim any excess string with scissors. Your simple beaded bracelet is ready to wear.

Credit: www.youtube.com
Charming Necklaces
Charming necklaces can elevate any outfit. They are a great way to express personal style. Beginners can create stunning pieces with simple materials. Let’s explore some easy and fun ideas for DIY necklaces.
Layered Necklace Ideas
Layered necklaces are trendy and versatile. Start with different chain lengths. Mix and match textures for a unique look. Use thin chains for a delicate appearance. Combine gold and silver for a modern twist. Add small charms for extra flair.
Experiment with bead sizes and colors. Choose a focal point for each layer. Keep it simple to avoid clutter. Try three layers for a balanced look. Adjust lengths to fit your neckline. Enjoy the creative process.
Pendant Styles
Pendants add personality to necklaces. Choose a theme that reflects your taste. Use a single large pendant for a statement piece. Opt for smaller, multiple pendants for a playful touch. Consider using natural stones for a classic feel.
Try making your own pendants with polymer clay. Shape and bake them for custom designs. Use wire wrapping for a unique effect. Attach pendants with jump rings for easy changes. Mix and match pendants for different occasions. Have fun experimenting with styles.
Earrings Made Easy
Explore the joy of creating your own earrings with simple DIY jewelry ideas. Perfect for beginners, these projects are fun and easy to follow. Start designing unique pieces today!
Creating your own earrings can be a fun and rewarding hobby. Even beginners can make beautiful pieces without much experience. This section will guide you through making two types of earrings: hoop earrings and dangle earrings. Both are simple to make and require minimal materials.Hoop Earrings
Hoop earrings are classic and versatile. Start with a pair of earring hoops. You can find these at any craft store. Choose a few beads or charms that you like. Thread the beads or charms onto the hoops. Once you have the desired look, close the hoops. Your hoop earrings are ready to wear. This project is quick and easy, perfect for beginners.Dangle Earrings
Dangle earrings add movement and style. Begin with a pair of earring hooks and headpins. Select your beads. Slide the beads onto the headpins. Use pliers to create a loop at the top of each headpin. Attach the headpins to the earring hooks. Make sure the loops are secure. Now you have a pair of stylish dangle earrings. This project allows for creativity and personalization. Making your own earrings can be simple and enjoyable. With these easy steps, you can create beautiful accessories in no time. “`Personalized Rings
Creating personalized rings can be a fun and rewarding project for beginners. These rings can be customized to reflect personal style and preferences. They make great gifts or unique pieces for your own jewelry collection.
Wire Wrapping Techniques
Wire wrapping is a popular method for making rings. Start by choosing a soft wire that is easy to bend, like copper or silver. Use round-nose pliers to create loops and spirals. Practice makes perfect.
Once you feel comfortable, try wrapping the wire around a mandrel. This helps to shape the ring. Secure the ends by tucking them into the design. Experiment with different patterns and styles. Each ring will be unique.
Adding Gemstones
Gemstones add color and sparkle to your rings. Choose small stones that fit well with your design. Use a small piece of wire to secure the gemstone in place. Wrap the wire tightly around the stone and the ring base.
Ensure the stone is secure and not loose. You can use glue for extra security. Be creative with your gemstone choices. Mix and match colors and shapes. The possibilities are endless.
Upcycling Old Jewelry
Upcycling old jewelry is a fantastic way to create unique pieces. It’s not only budget-friendly but also eco-friendly. You can transform broken or outdated jewelry into trendy new items. Let’s explore some exciting ideas for repurposing your old jewelry.
Repurposing Broken Pieces
Broken jewelry can still be useful. Don’t throw it away! Instead, think creatively. A broken necklace can become a stylish bracelet. Missing an earring? Turn the remaining one into a pendant.
Here are some ideas:
- Use broken chains to create layered bracelets.
- Attach a pendant to a leather cord for a fresh look.
- Combine mismatched earrings for a unique necklace.
Creative Uses For Spare Beads
Spare beads from old jewelry can be very versatile. They can add color and texture to new projects. Whether you have glass, wooden, or plastic beads, they can be repurposed easily.
Here’s how you can use them:
- Create a new beaded bracelet.
- Make a colorful keychain.
- Design custom earrings with mixed beads.
For a more organized approach, consider the following table:
| Spare Beads | New Uses |
|---|---|
| Glass Beads | Bracelets, Earrings |
| Wooden Beads | Necklaces, Keychains |
| Plastic Beads | Decorative Items, Bookmarks |
Don’t let old jewelry gather dust. Repurpose it to create something new and exciting. Your creativity can turn old pieces into beautiful, trendy accessories.

Credit: www.youtube.com
Finishing Touches
Creating your own jewelry is a fun and rewarding experience. But the finishing touches can make all the difference. These final steps can turn a simple piece into a beautiful creation. Let’s explore some essential finishing touches for your DIY jewelry projects.
Using Clasps
Clasps are crucial for many jewelry pieces. They hold necklaces and bracelets securely. Choose a clasp that matches your design. Lobster clasps are strong and easy to use. Magnetic clasps are convenient for quick wear. Toggle clasps add a touch of elegance. Make sure the clasp is the right size and strength. Attach the clasp with jump rings or crimp beads for a secure fit.
Polishing And Storing
Polishing your jewelry gives it a professional look. Use a soft cloth to polish metal parts. For gemstones, use a gentle cleaner and a soft brush. Regular polishing keeps your jewelry shiny and new. Proper storage is also important. Store jewelry in a dry place. Use a jewelry box with compartments. This prevents tangling and damage. Keep silver pieces in anti-tarnish bags.
Inspiration And Resources
Starting your journey into DIY jewelry can be both exciting and overwhelming. Finding the right inspiration and resources can make all the difference. Whether you are looking for step-by-step guides or community support, there are plenty of options available. Below, you’ll discover some helpful resources to get you started on your DIY jewelry projects.
Online Tutorials
Online tutorials are a fantastic way to learn new jewelry-making techniques. Many websites offer free step-by-step guides and video tutorials. YouTube is a great place to start. Many creators share their skills and tips through easy-to-follow videos. Look for beginner-friendly channels with clear instructions and visuals.
Pinterest is another excellent resource. You can find countless DIY jewelry ideas and tutorials pinned by other users. Save your favorite pins to refer back to them later. Websites like Craftsy and Skillshare also offer courses. Some are free, while others require a small fee. These platforms often have detailed lessons from experienced jewelry makers.
Community Groups
Joining community groups can provide valuable support and inspiration. Facebook has many groups dedicated to DIY jewelry making. Members share their projects, tips, and resources. You can ask questions and get feedback on your work. Being part of a community helps you stay motivated and inspired.
Local craft clubs and workshops are also great options. Check if there are any groups in your area. These gatherings offer hands-on learning and the chance to meet other jewelry enthusiasts. Meetup.com is a useful site to find local crafting events and groups.
Frequently Asked Questions
What Tools Do I Need For Diy Jewelry?
You need pliers, wire cutters, beads, and clasps. Basic tools are affordable and easy to find. Start with a simple toolkit.
How Do I Choose Beads For Jewelry?
Select beads based on size, color, and material. Glass and acrylic beads are great for beginners. Experiment with different styles.
Can I Make Jewelry Without Experience?
Yes, beginners can create beautiful jewelry. Start with simple designs and practice regularly. Online tutorials are helpful.
How Long Does It Take To Make Jewelry?
It varies by design complexity. Simple pieces take around 30 minutes. More intricate designs may take a few hours.
Conclusion
Creating your own jewelry can be a fun and rewarding hobby. The ideas shared here are perfect for beginners. Start with simple designs and gradually try more complex ones. Enjoy the process and let your creativity shine. Remember, practice makes perfect.
Soon, you will create stunning pieces to wear and share. So, gather your tools, pick a design, and start crafting today. Happy jewelry making!