Piñatas add fun to any celebration. Making your own can be rewarding and exciting.
In this blog post, we will explore creative and simple DIY piñata ideas. Piñatas are not just for kids; they bring joy to all ages. Crafting your own piñata allows for personal touches and unique designs. Whether for a birthday, holiday, or special event, a handmade piñata can be the highlight of the party.
From traditional shapes to modern themes, the possibilities are endless. You don’t need expert skills or expensive materials. With some basic supplies and a bit of creativity, you can create a memorable piñata that fits your celebration perfectly. Dive into these DIY piñata ideas and get inspired to craft your own party masterpiece!
Introduction To Diy Pinatas
Pinatas are a fun and colorful addition to any party. Making your own pinata adds a personal touch and can be a fun project for the whole family. In this section, we’ll explore why creating your own pinata is a great idea and what materials you’ll need to get started.
Why Make Your Own?
Creating a DIY pinata offers several benefits:
- Cost-effective: Making your own pinata can be cheaper than buying one.
- Personalization: Customize the pinata to match your party theme.
- Creative activity: It’s a fun and creative project for kids and adults.
- Sense of accomplishment: Completing a pinata brings satisfaction.
Materials Needed
Before starting, gather the following materials:
| Material | Purpose |
|---|---|
| Balloon or Cardboard | Forms the base of your pinata |
| Newspaper | Used for creating paper mache |
| Flour and Water | Ingredients for paper mache paste |
| Crepe Paper | Decorates the outside of the pinata |
| Glue | Adheres crepe paper to pinata |
| Scissors | Used for cutting paper and cardboard |
| String | For hanging the pinata |
| Candy/Treats | Fill the pinata with goodies |
Once you have all the materials, you can start creating your DIY pinata. Enjoy the process and let your creativity shine!
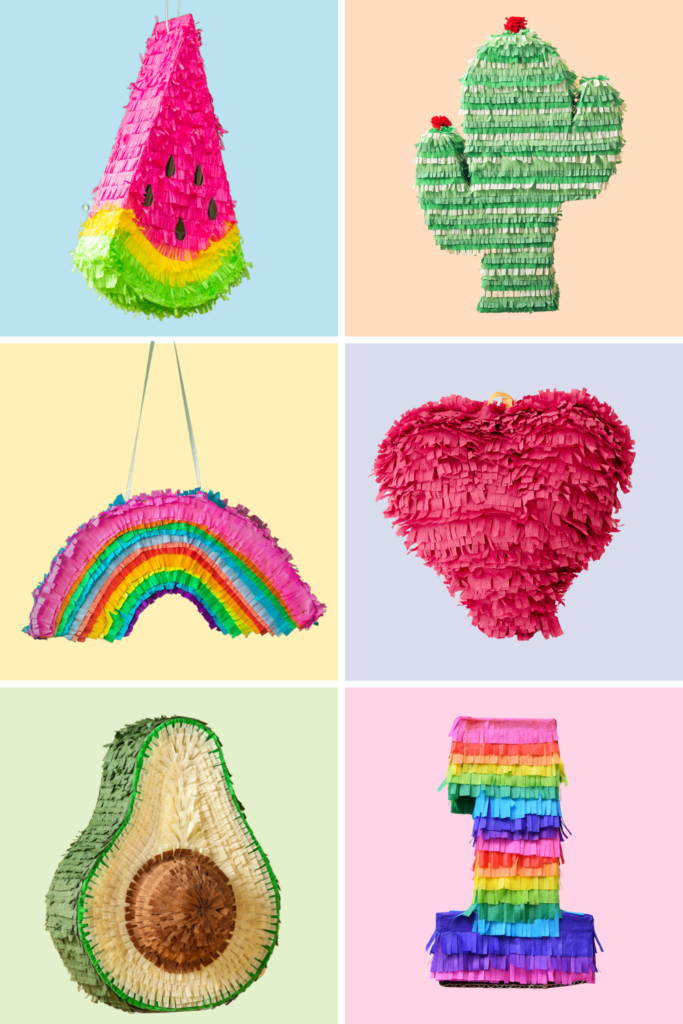
Credit: www.berries.com
Choosing A Theme
Choosing a theme for your DIY pinata is fun and important. A good theme makes the pinata stand out. It also sets the tone for your party. Let’s look at some popular themes and how to customize them for your event.
Popular Themes
Some themes are always a hit with kids and adults. Animals like unicorns and dinosaurs are popular. They are colorful and fun. Superheroes also make great themes. Everyone loves characters like Spider-Man or Batman. For a summer party, think about beach or tropical themes. These themes are bright and cheerful.
Customizing For Your Party
Make the pinata special by matching it to your party. Choose colors that go with your decorations. Add the name of the birthday person. You can even fill the pinata with themed goodies. Use small toys or candies that fit the theme. Personal touches make the pinata unique. It shows you put thought into the celebration.
Basic Construction Techniques
Creating a DIY piñata can be a fun and rewarding project. Understanding the basic construction techniques will make the process easier and the result more impressive. Below, we’ll explore two common methods: traditional paper mache and cardboard structures.
Traditional Paper Mache
Traditional paper mache is a classic method for making piñatas. It involves layering paper strips with a glue mixture over a form. Follow these steps to create a paper mache piñata:
- Inflate a balloon to your desired size.
- Mix equal parts water and flour to make the glue.
- Cut newspaper into strips.
- Dip strips in the glue and place them on the balloon.
- Layer until the balloon is covered. Let it dry between layers.
- Once dry, pop the balloon and remove it.
Decorate your piñata with paint and crepe paper for a colorful finish.
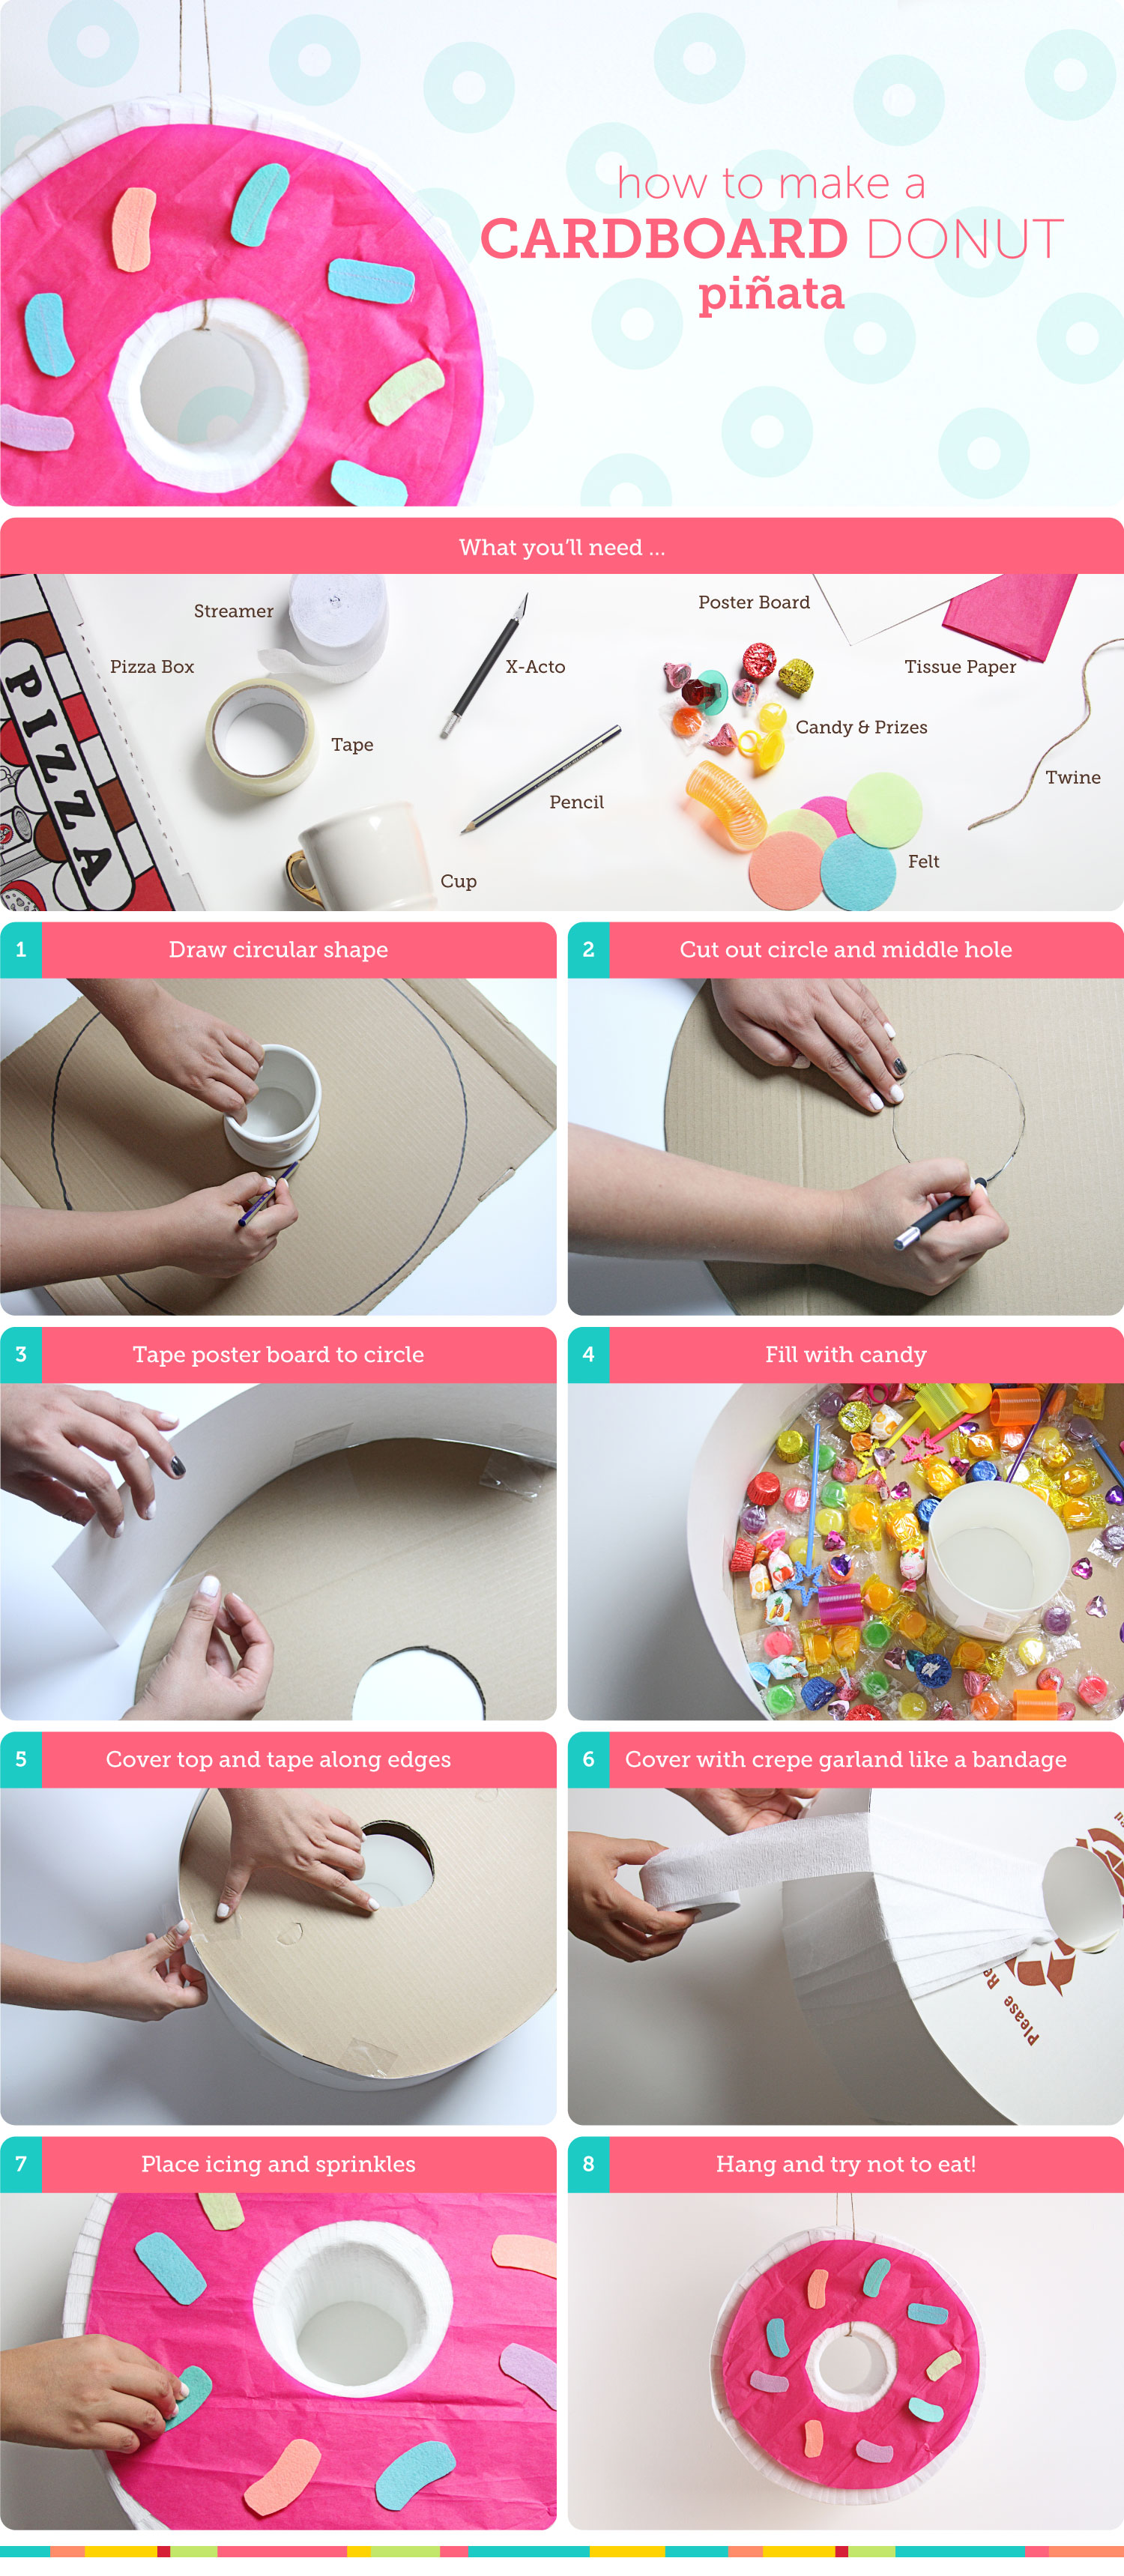
Cardboard Structures
Cardboard structures offer a sturdy alternative to paper mache. This method uses cardboard pieces to form the shape of the piñata. Here’s how to do it:
- Draw and cut out the desired shape from cardboard.
- Cut strips of cardboard to connect the shapes.
- Use tape or glue to assemble the structure.
- Cover the entire structure with crepe paper or tissue paper.
Cardboard piñatas are durable and can be customized with various decorations.
| Technique | Materials Needed | Steps |
|---|---|---|
| Traditional Paper Mache | Balloon, Newspaper, Flour, Water, Paint |
|
| Cardboard Structures | Cardboard, Tape, Glue, Crepe Paper, Scissors |
|
Decorating Your Pinata
Decorating your pinata can be a fun and creative process. You have many options to make it colorful and appealing. Whether you use paint, glitter, or fringe, each method adds a unique touch. Let’s explore some decorating ideas to make your pinata stand out.
Paint And Glitter
Paint is a simple way to add color to your pinata. Choose bright colors to make it eye-catching. Use acrylic paint for best results. You can paint the entire pinata or create patterns and designs.
Glitter adds sparkle and shine. Apply a thin layer of glue to the painted area. Sprinkle glitter over the glue and let it dry. This creates a magical effect.
Consider combining paint and glitter. Paint a base coat, then add glitter highlights. This method makes your pinata look festive and fun.
Adding Fringe And Details
Fringe adds texture and movement to your pinata. Cut strips of tissue paper or crepe paper. Make small cuts along the edge to create fringe. Glue the strips to your pinata, starting at the bottom. Layer the strips upward for a full effect.
Details like eyes, noses, and mouths bring your pinata to life. Use construction paper, felt, or markers to create these features. Glue them onto your pinata for a personalized touch.
You can also add accessories like hats, ribbons, or bows. These details make your pinata unique and playful.
Decorating your pinata is a chance to express your creativity. Use these ideas to make a memorable and fun pinata for your next celebration.
Filling Ideas
Thinking about what to fill your DIY piñata with can be exciting. You want items that will surprise and delight your guests. Whether it’s a child’s birthday or a fun adult gathering, the right fillings make all the difference. Here are some great ideas for both traditional and creative fillings.
Candy And Toys
Candy is a classic choice for piñata fillings. Small, individually wrapped pieces work best. Think chocolates, gummies, lollipops, and hard candies. These treats are easy to share and enjoy.
Toys are another popular option. Small action figures, toy cars, or dolls can bring joy to any child. Consider adding items like stickers, temporary tattoos, and small puzzles. These can keep kids entertained long after the piñata is broken.
Creative Alternatives
If you want something different, try non-candy options. Small bags of nuts, dried fruit, or trail mix are healthy choices. Mini bags of popcorn or pretzels can also be fun and tasty.
For a unique twist, fill the piñata with themed items. For a beach party, include mini bottles of sunscreen, sunglasses, and beach balls. A craft party could have colored pencils, small notepads, and stickers.
Another idea is to fill the piñata with small prizes. Gift cards, keychains, and mini flashlights are great for adults. These items can make the party memorable and unique.
Safety Tips
Creating a DIY pinata can be a fun and creative activity. However, ensuring safety is crucial, especially when children are involved. Here are some important safety tips to consider.
Ensuring Durability
Durability is key to a safe pinata. Use strong materials like cardboard or thick paper. Avoid fragile materials that can break easily. Reinforce weak spots with extra layers of paper mache. Ensure the pinata can withstand multiple hits before breaking. This prevents sharp pieces from flying off.
| Material | Durability |
|---|---|
| Cardboard | High |
| Thin Paper | Low |
| Paper Mache | Medium to High |
Safe Breaking Methods
Choose a safe method for breaking the pinata. Avoid using heavy or sharp objects. Opt for a light plastic bat or a wooden stick. Ensure the hitting area is spacious and clear of obstacles. Supervise children closely to prevent accidents. Instruct kids to take turns and maintain a safe distance. Always keep first aid supplies nearby in case of minor injuries.
- Use light plastic bats
- Ensure a spacious hitting area
- Supervise children closely
- Keep first aid supplies nearby
Budget-friendly Options
Creating a piñata doesn’t have to cost a fortune. There are many ways to make a fun and colorful piñata without spending a lot of money. By using materials you already have or purchasing cost-effective decorations, you can make a memorable piñata for any event.
Using Recycled Materials
One of the best ways to save money on a piñata is by using recycled materials. Not only is this budget-friendly, but it’s also environmentally friendly.
- Cardboard Boxes: Use old boxes to form the base of your piñata.
- Newspaper: Shred newspaper to create the layers for a sturdy structure.
- Paper Bags: Paper grocery bags can be used as the main body of the piñata.
To make a basic piñata, start by shaping the cardboard into the desired form. Then, layer the newspaper using a paste made from flour and water. Allow each layer to dry before adding the next. Finally, use a paper bag to add an extra layer of durability.
Cost-effective Decorations
Decorating your piñata doesn’t have to break the bank. Many affordable options can make your piñata look fantastic.
- Crepe Paper: Crepe paper is cheap and comes in many colors. Use it to cover your piñata.
- Tissue Paper: Use colorful tissue paper to make fringes and other designs.
- Paint: Use leftover paint to add vibrant colors to your piñata.
You can also use household items to add unique touches. For example, buttons, ribbons, and old fabric scraps can add texture and flair. Simply glue these items onto the piñata for a creative and personalized look.
| Material | Cost | Usage |
|---|---|---|
| Cardboard Boxes | Free | Base structure |
| Newspaper | Free | Layering |
| Crepe Paper | $1-$3 | Covering |
| Tissue Paper | $1-$5 | Decorating |
By using these budget-friendly options, you can create a beautiful and fun piñata without spending much money. Get creative and enjoy the process!
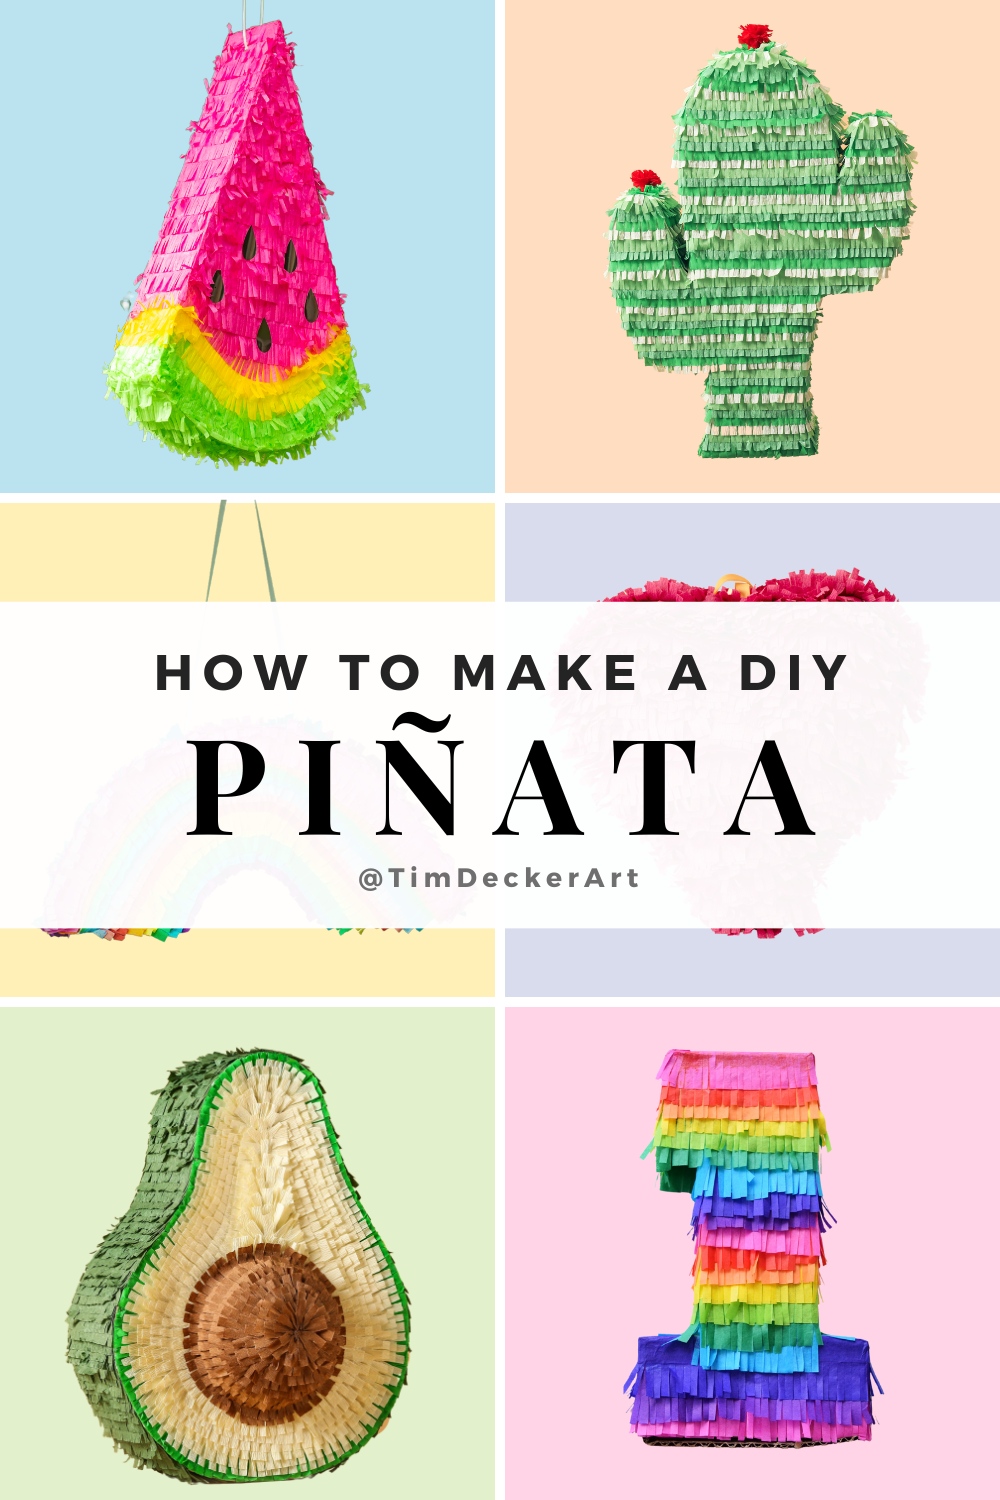
Credit: www.timdeckerart.com
Fun Variations
Creating your own pinata can be a fun and rewarding experience. There are many ways to make your pinata unique. Explore these fun variations to make your celebration extra special!
Mini Pinatas
Mini pinatas are perfect for small gatherings or as party favors. They are easy to make and can be designed to match any theme.
- Materials Needed: Cardboard, tissue paper, glue, and string.
- Steps:
- Cut cardboard into small shapes.
- Assemble the shapes into a 3D form.
- Cover with tissue paper and glue.
- Add a string for hanging.
- Fill with candies or small toys.
Mini pinatas add a personal touch to your party. They are great for kids and adults alike.
Themed Pinata Games
Themed pinata games can make your event more engaging. Choose a theme that suits your party and create pinata games around it.
- Pirate Theme: Create a treasure chest pinata. Guests can dress as pirates and hunt for the hidden pinata.
- Animal Theme: Make animal-shaped pinatas. Use them in a safari-themed scavenger hunt.
- Superhero Theme: Design pinatas to look like superhero logos. Host a game where kids “rescue” the pinata.
These themed games add excitement and keep everyone entertained. They also make for great photo opportunities.
Involving Kids In The Process
Creating a piñata can be a fun and engaging activity for the entire family. Involving kids in the process not only makes it more enjoyable but also helps them learn new skills. By giving them simple tasks, they can feel a sense of accomplishment and pride in their creation.
Kid-friendly Tasks
To ensure the kids are involved, assign them some kid-friendly tasks. Here are a few ideas:
- Cutting paper strips
- Painting the piñata
- Filling the piñata with treats
- Decorating with stickers and glitter
These tasks are easy and safe for children. They can also choose the colors and designs, making the piñata unique.
Educational Benefits
Involving children in making a piñata has many educational benefits. Here are some key points:
| Skill | Benefit |
|---|---|
| Fine Motor Skills | Cutting and gluing improve hand-eye coordination. |
| Creativity | Choosing colors and designs fosters creativity. |
| Teamwork | Working together teaches cooperation and sharing. |
| Patience | Waiting for glue to dry teaches patience. |
These benefits contribute to a child’s overall development. Plus, it’s a fun way to learn!
Credit: www.youtube.com
Showcasing Your Pinata
Showcasing your pinata adds a special touch to any celebration. Your handcrafted pinata deserves the spotlight. Let’s explore how to make it the star of the party.
Setting Up The Party
Start by picking the perfect location. Hang your pinata where guests can see it. Ensure there’s enough space for everyone to gather around. Trees, pergolas, or sturdy beams work well.
Use colorful ribbons and balloons to decorate around the pinata. This makes it stand out. Consider a theme to match your party decorations. The right setup creates excitement and anticipation.
Capturing The Moment
Don’t forget to capture the fun. Designate a friend or family member as the photographer. Use a good camera or smartphone to get clear shots.
Take photos before the smashing begins. Capture the details of your hard work. During the action, snap pictures of kids swinging and laughing. These candid moments are priceless.
Consider recording a video. This way, you can relive the excitement later. Share the best shots on social media to show off your creativity.
Frequently Asked Questions
How To Make A Diy Pinata?
To make a DIY pinata, start with cardboard or a balloon base. Cover it with paper mache. Let it dry, then decorate with colorful tissue paper. Finally, fill it with candies and small toys.
What Materials Do I Need For A Pinata?
You need cardboard or a balloon, paper mache paste, tissue paper, glue, scissors, and decorations. Don’t forget to include candies and small toys for filling.
Can I Make A Pinata Without Paper Mache?
Yes, you can use cardboard and tape to create a pinata frame. Decorate it with tissue paper and fill it with treats.
How Long Does It Take To Make A Pinata?
Making a pinata takes about 2-3 hours. This includes drying time for paper mache. Plan ahead to ensure adequate drying time.
Conclusion
Creating your own piñata can be a fun, rewarding experience. These DIY ideas are easy and cost-effective. They add a personal touch to any celebration. Your guests will love the creativity. Plus, breaking a homemade piñata feels special. So, gather your materials and start crafting.
Enjoy the process and the smiles it brings. Happy crafting and celebrating!